Introduction
Installation
There are two pieces to Skein:
- The Bevy crate
- The Blender addon
The Bevy Crate
cargo add bevy_skein
Add the plugin to your application. Using default sets handle_brp to true which lets Skein set up the appropriate BRP configuration.
If you want more control, set this to false (or disable default-features) and set up the RemotePlugin and RemoteHttpPlugin yourself.
Note
By default Skein does not enable BRP when:
- compiling to wasm targets
- using a release profile
use bevy::prelude::*;
use bevy_skein::SkeinPlugin;

fn main() {
    App::new()
        .add_plugins((
            DefaultPlugins,
            SkeinPlugin::default(),
        ))
        .run();
}
The only thing you need to do is set up the plugin.
Skein operates on the GltfExtras that the Blender addon sets up in the .gltf/.glb file, so spawning a scene from a .gltf exported with the addon data will "just work".
commands.spawn(SceneRoot(asset_server.load(
    GltfAssetLabel::Scene(0).from_asset("my_export.gltf"),
)));
Note
Using GltfAssetLabel with SceneRoot is a quick way to spawn a scene, but you may want to load and access the Gltf asset or use SceneSpawner for more control.
The Blender addon
Auto-Update Installation
The "auto-update" installation will use the "Static Registry" hosted on this website to check for extension updates when Blender starts up. This makes it easy to stay up to date.
-
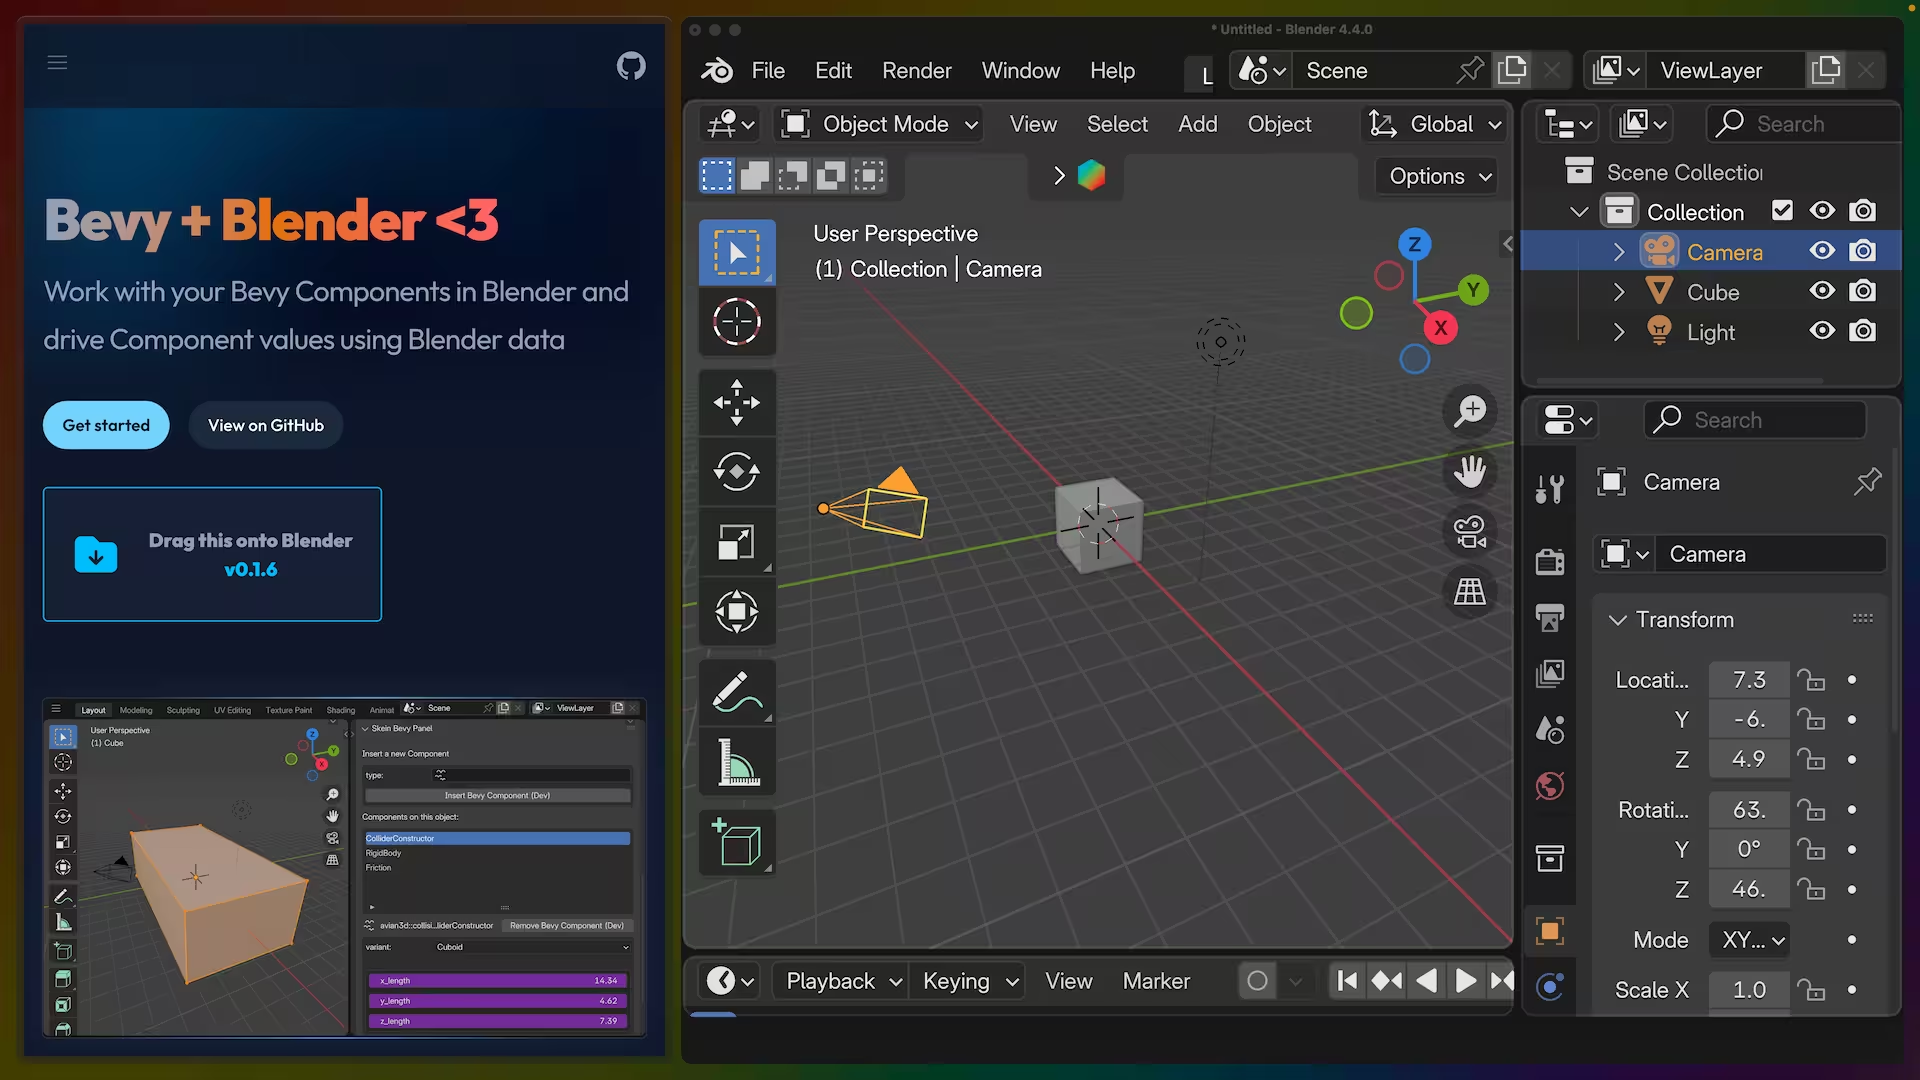
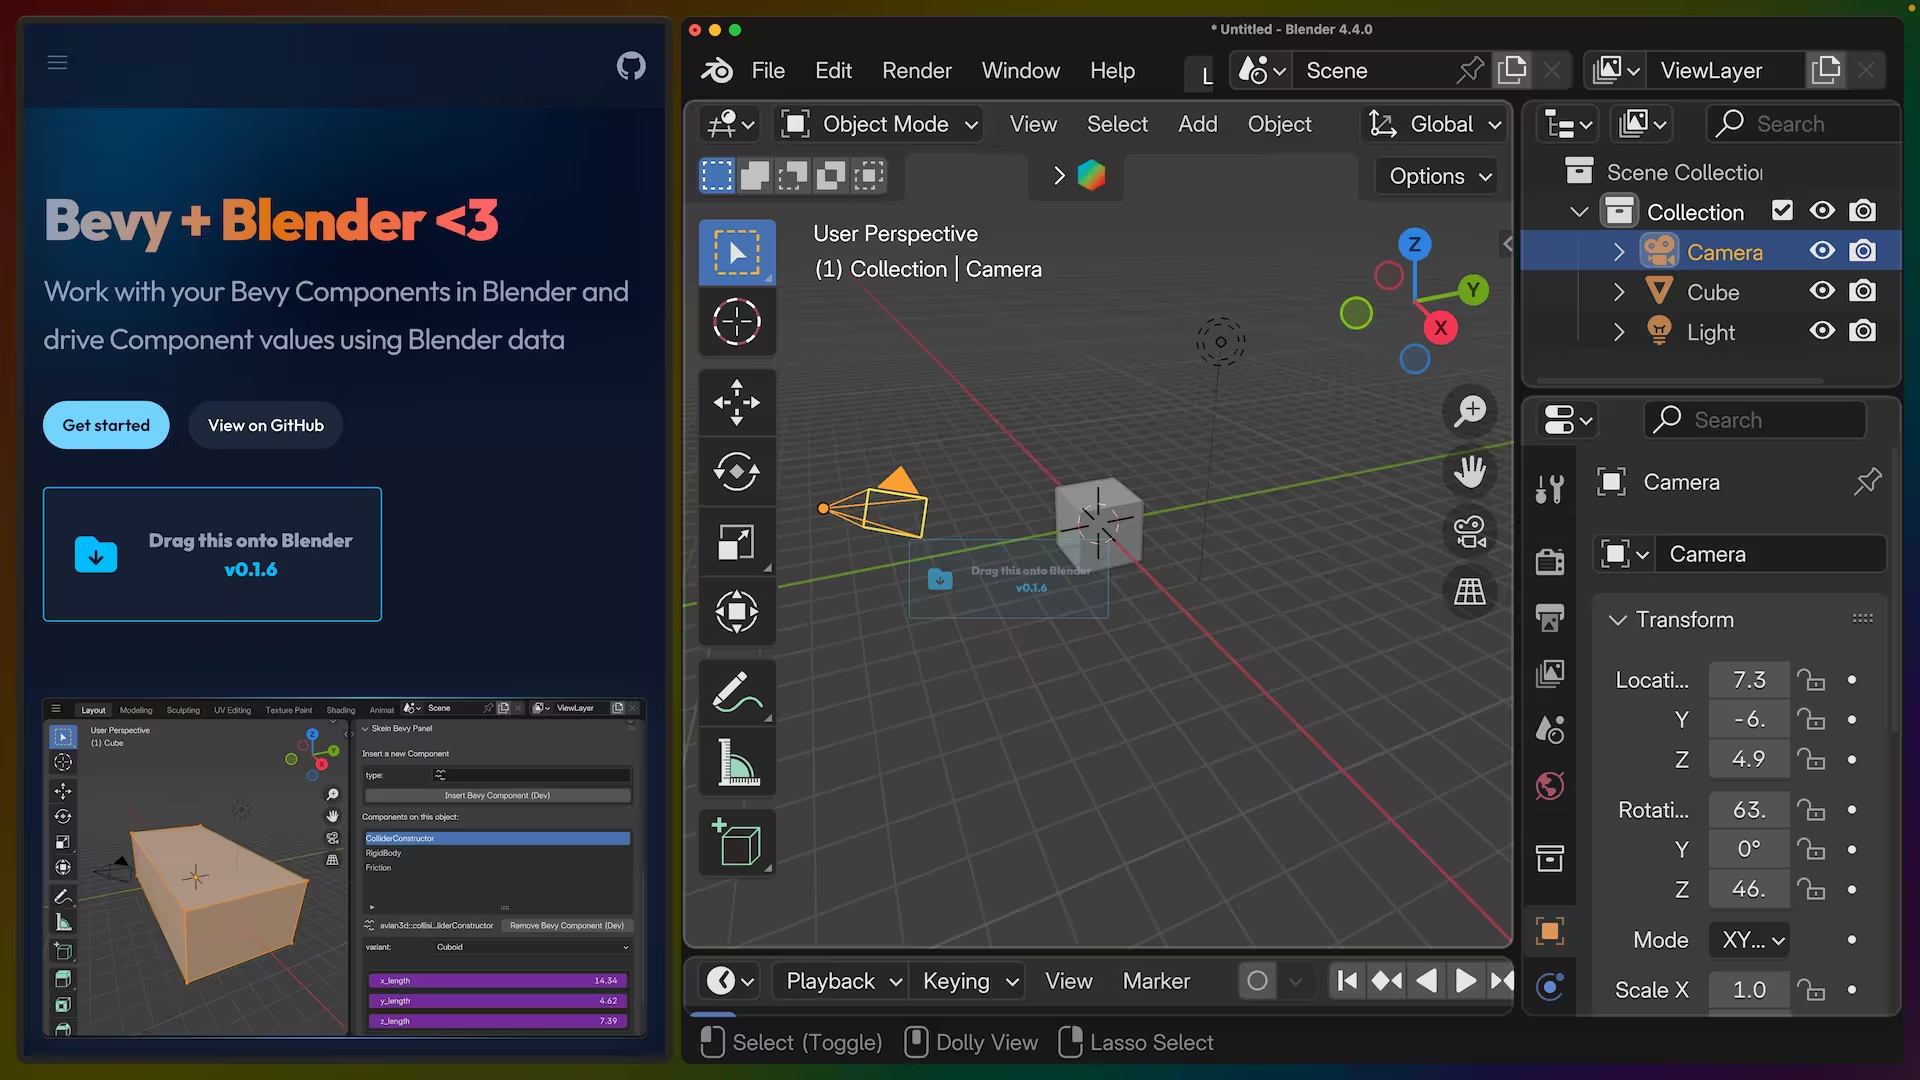
Drag this link onto Blender to add the registry
-
A dialogue will pop up indicating an unknown repository.
bevy_skeinis distributed via a repository on this site, so you will need to add the json file that lists the skein addon by clicking "Add Repository".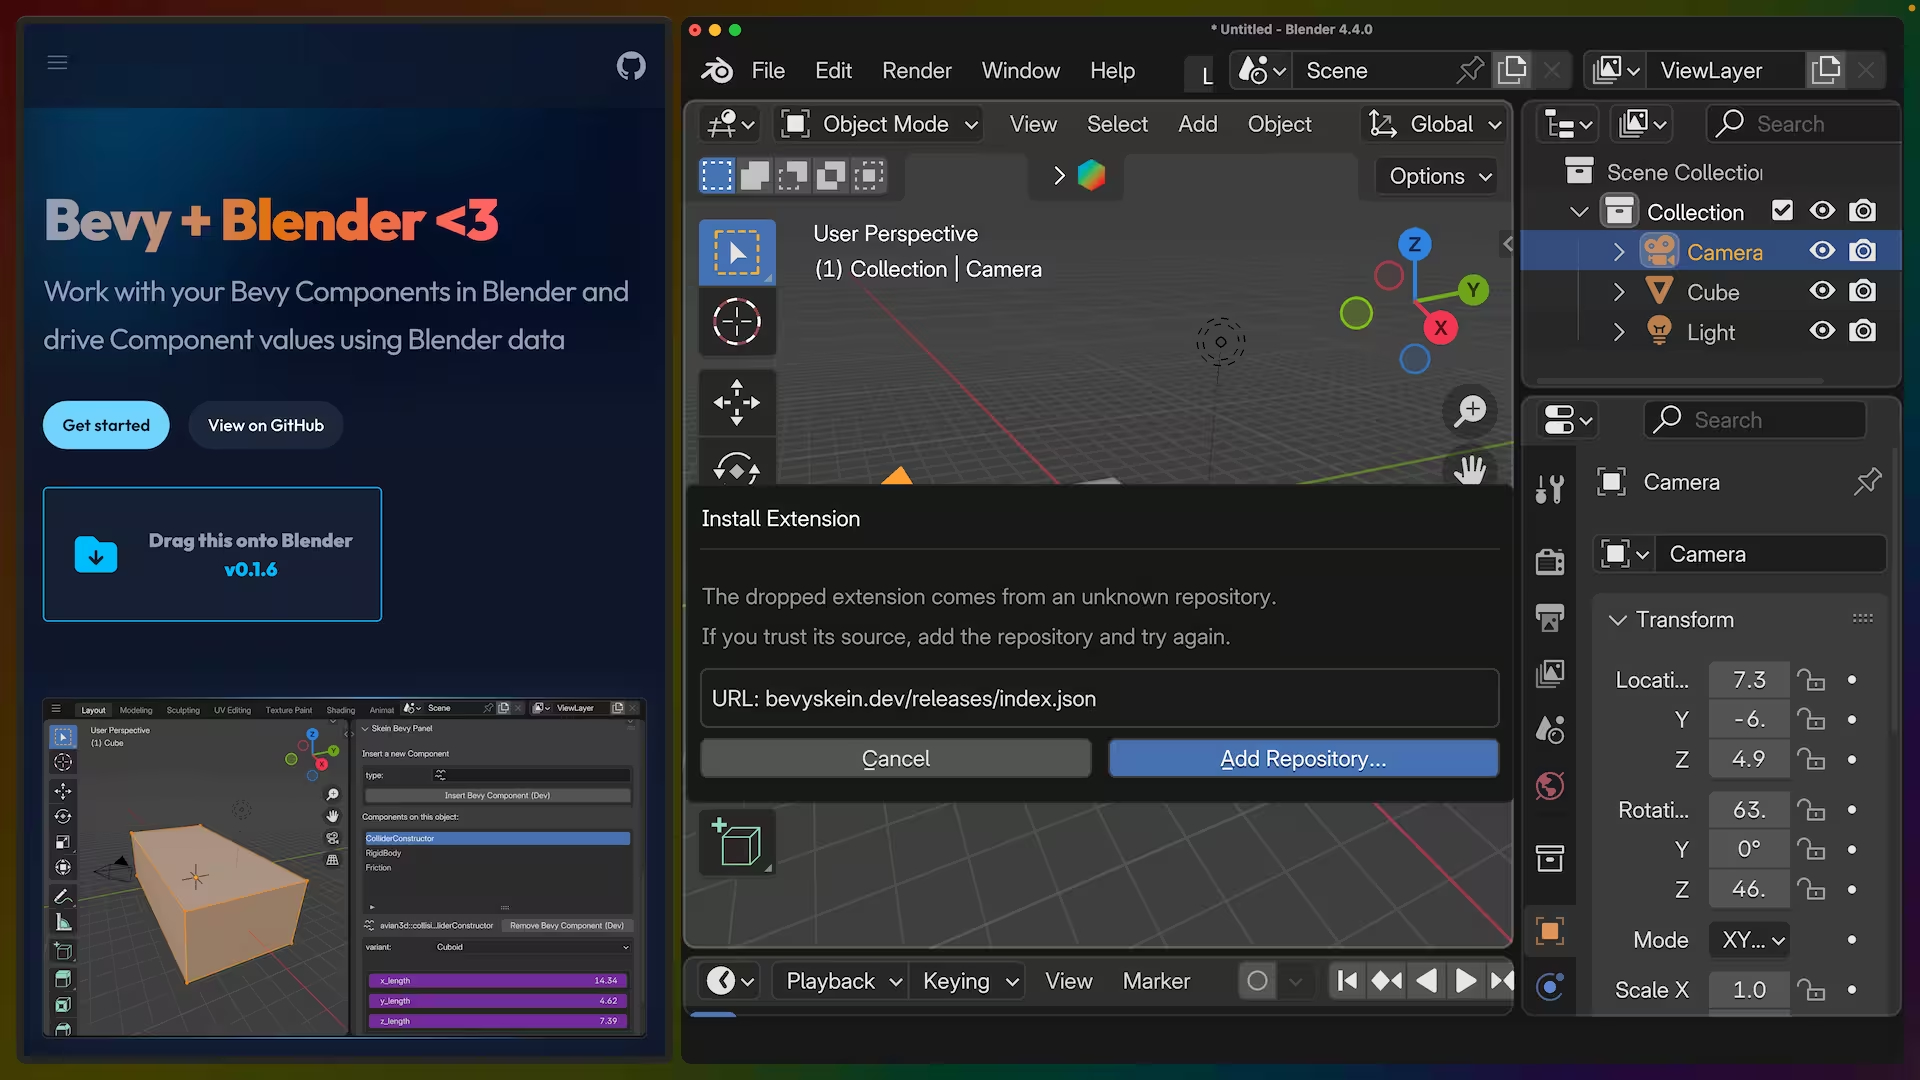
This will lead to another popup that allows clicking "Check for Updates on Startup", which will enable checking for Skein updates when starting Blender.
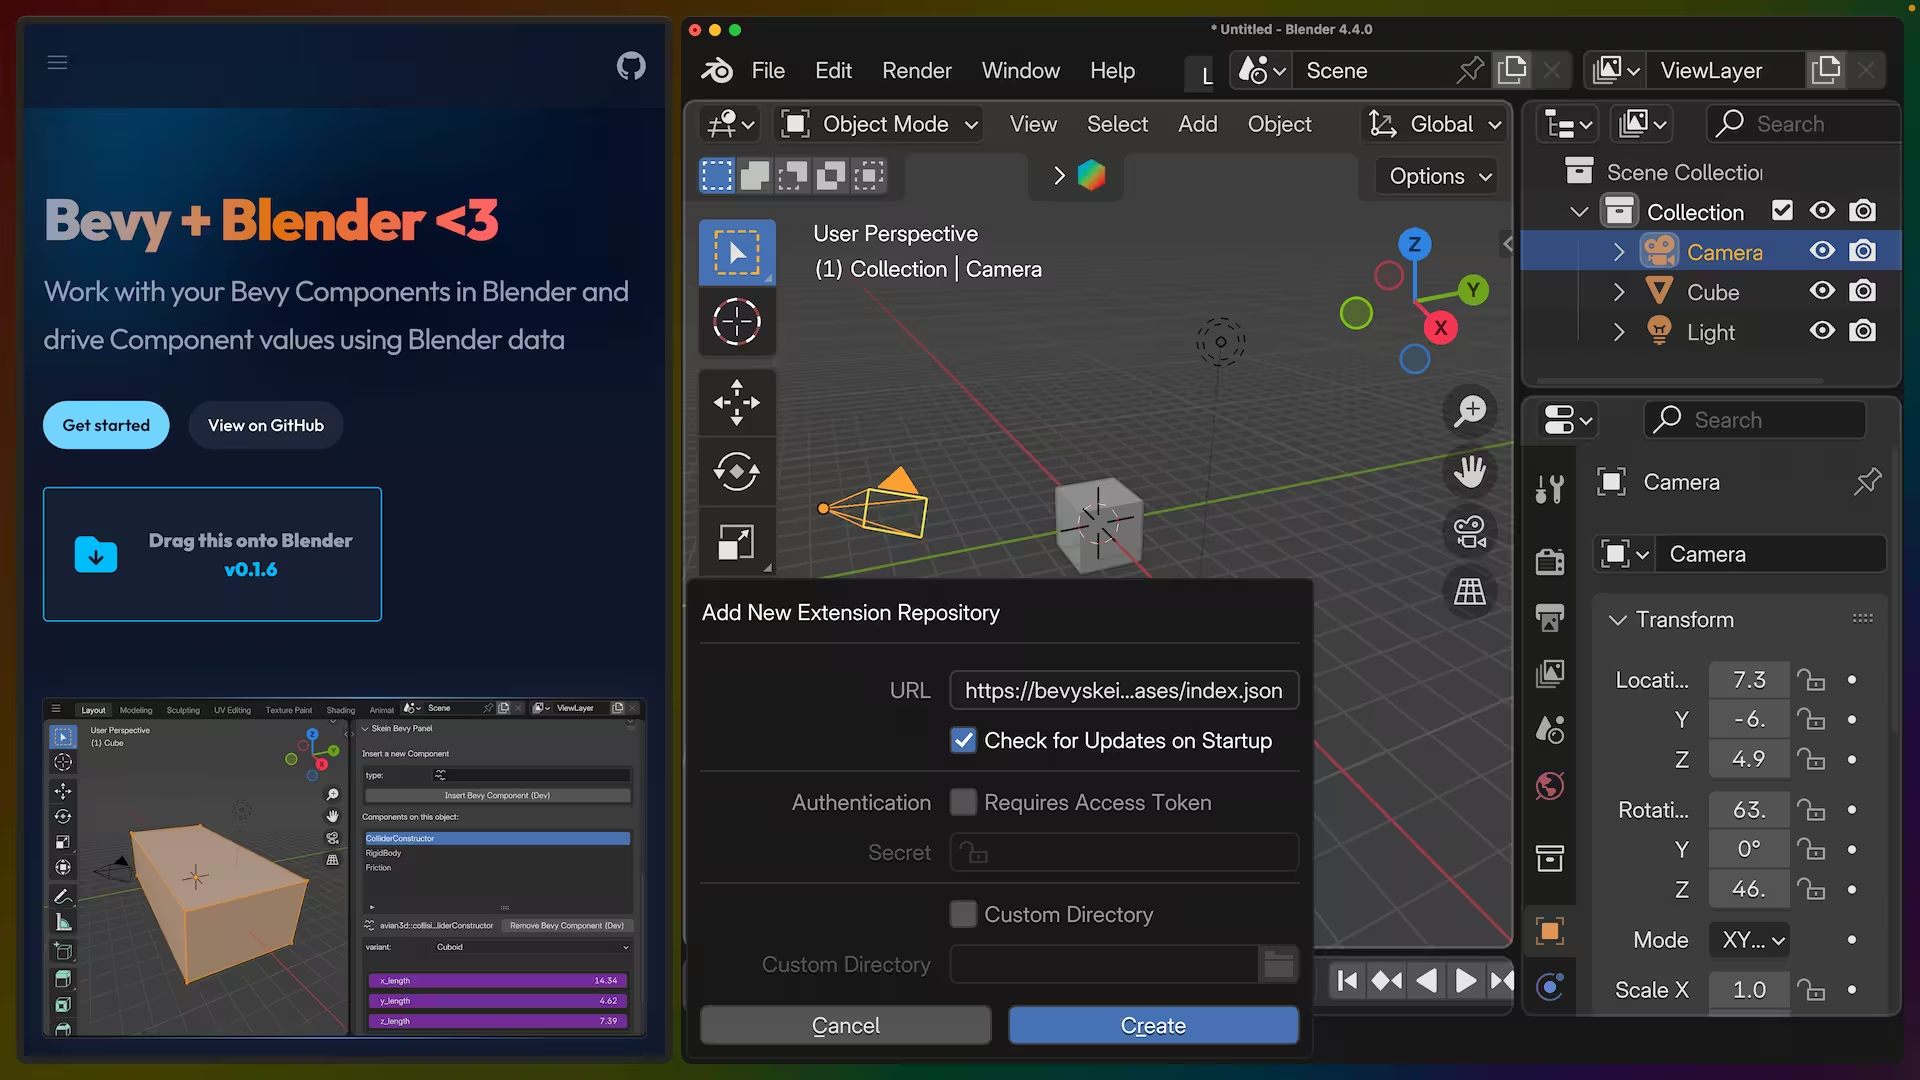
-
After adding the repository, go to
Preferences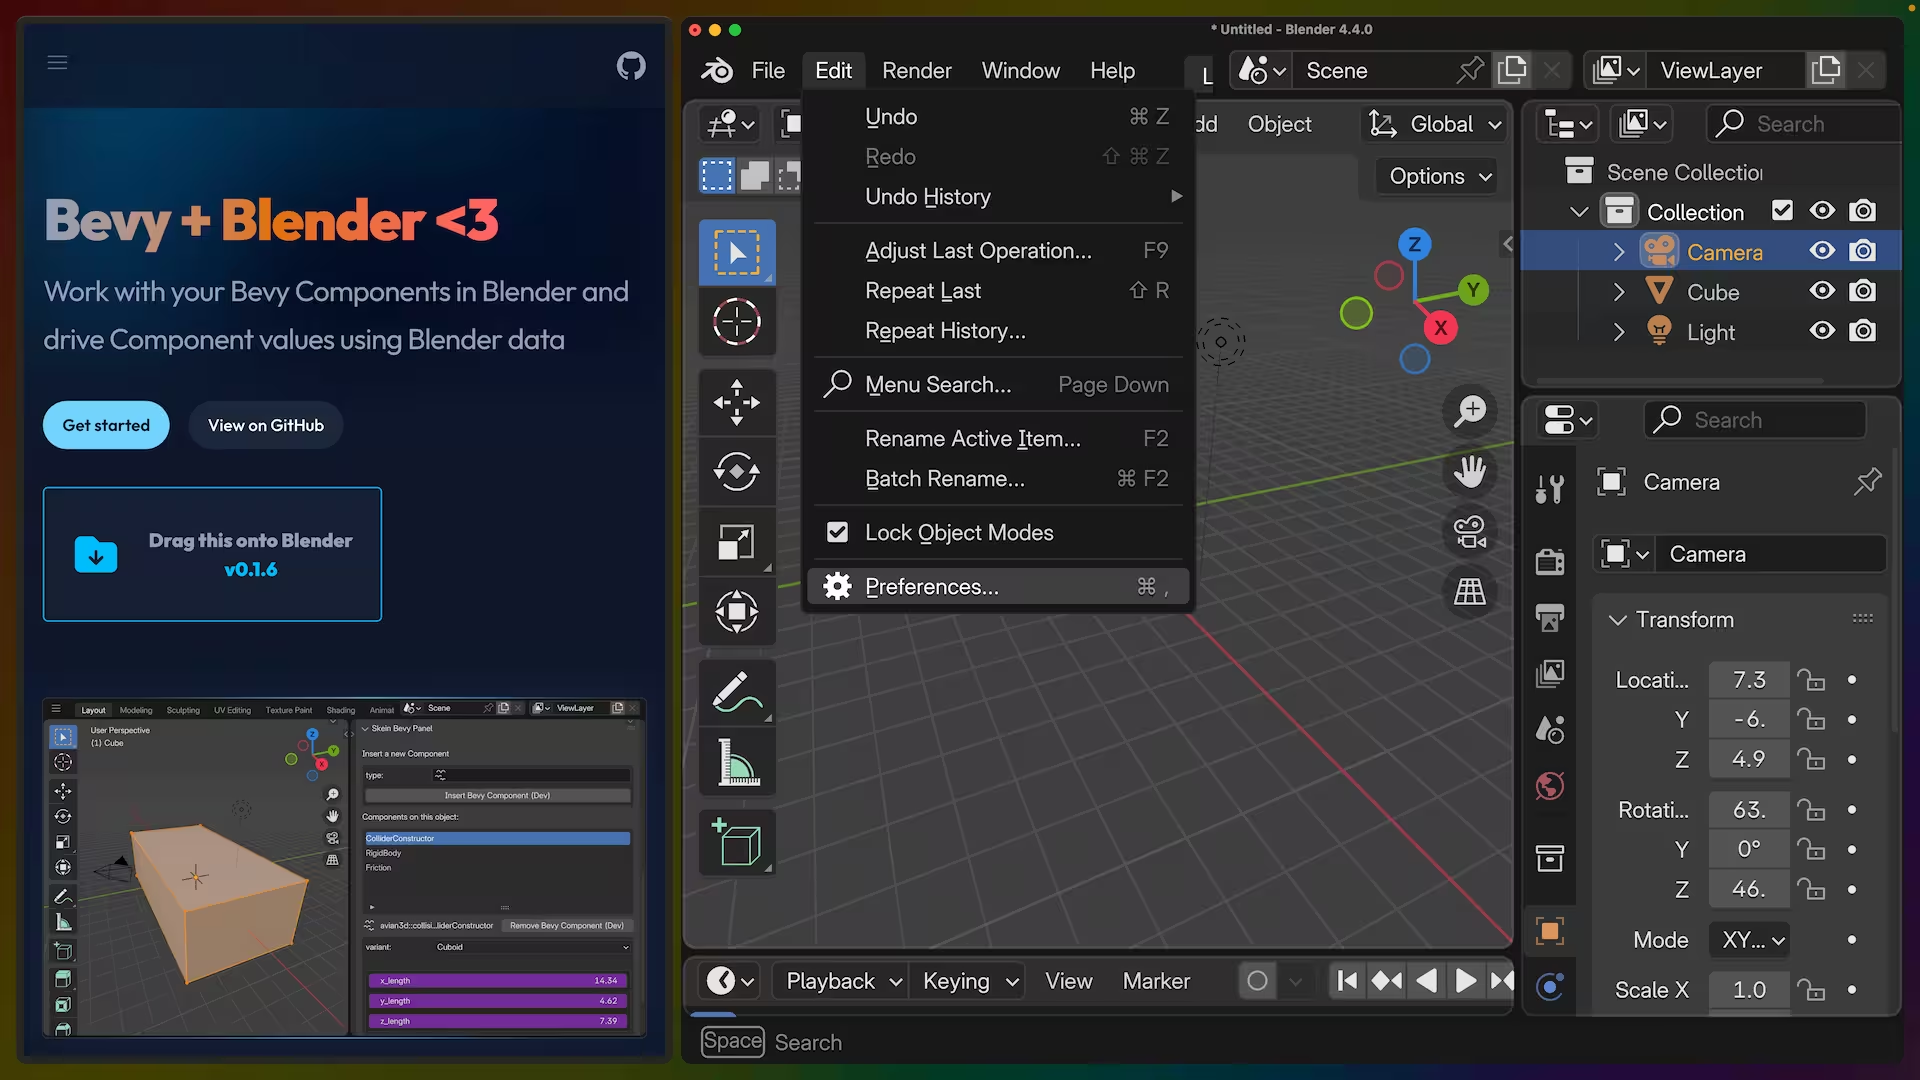
-
Under
Get Extensionsyou can search forskeinand clickInstall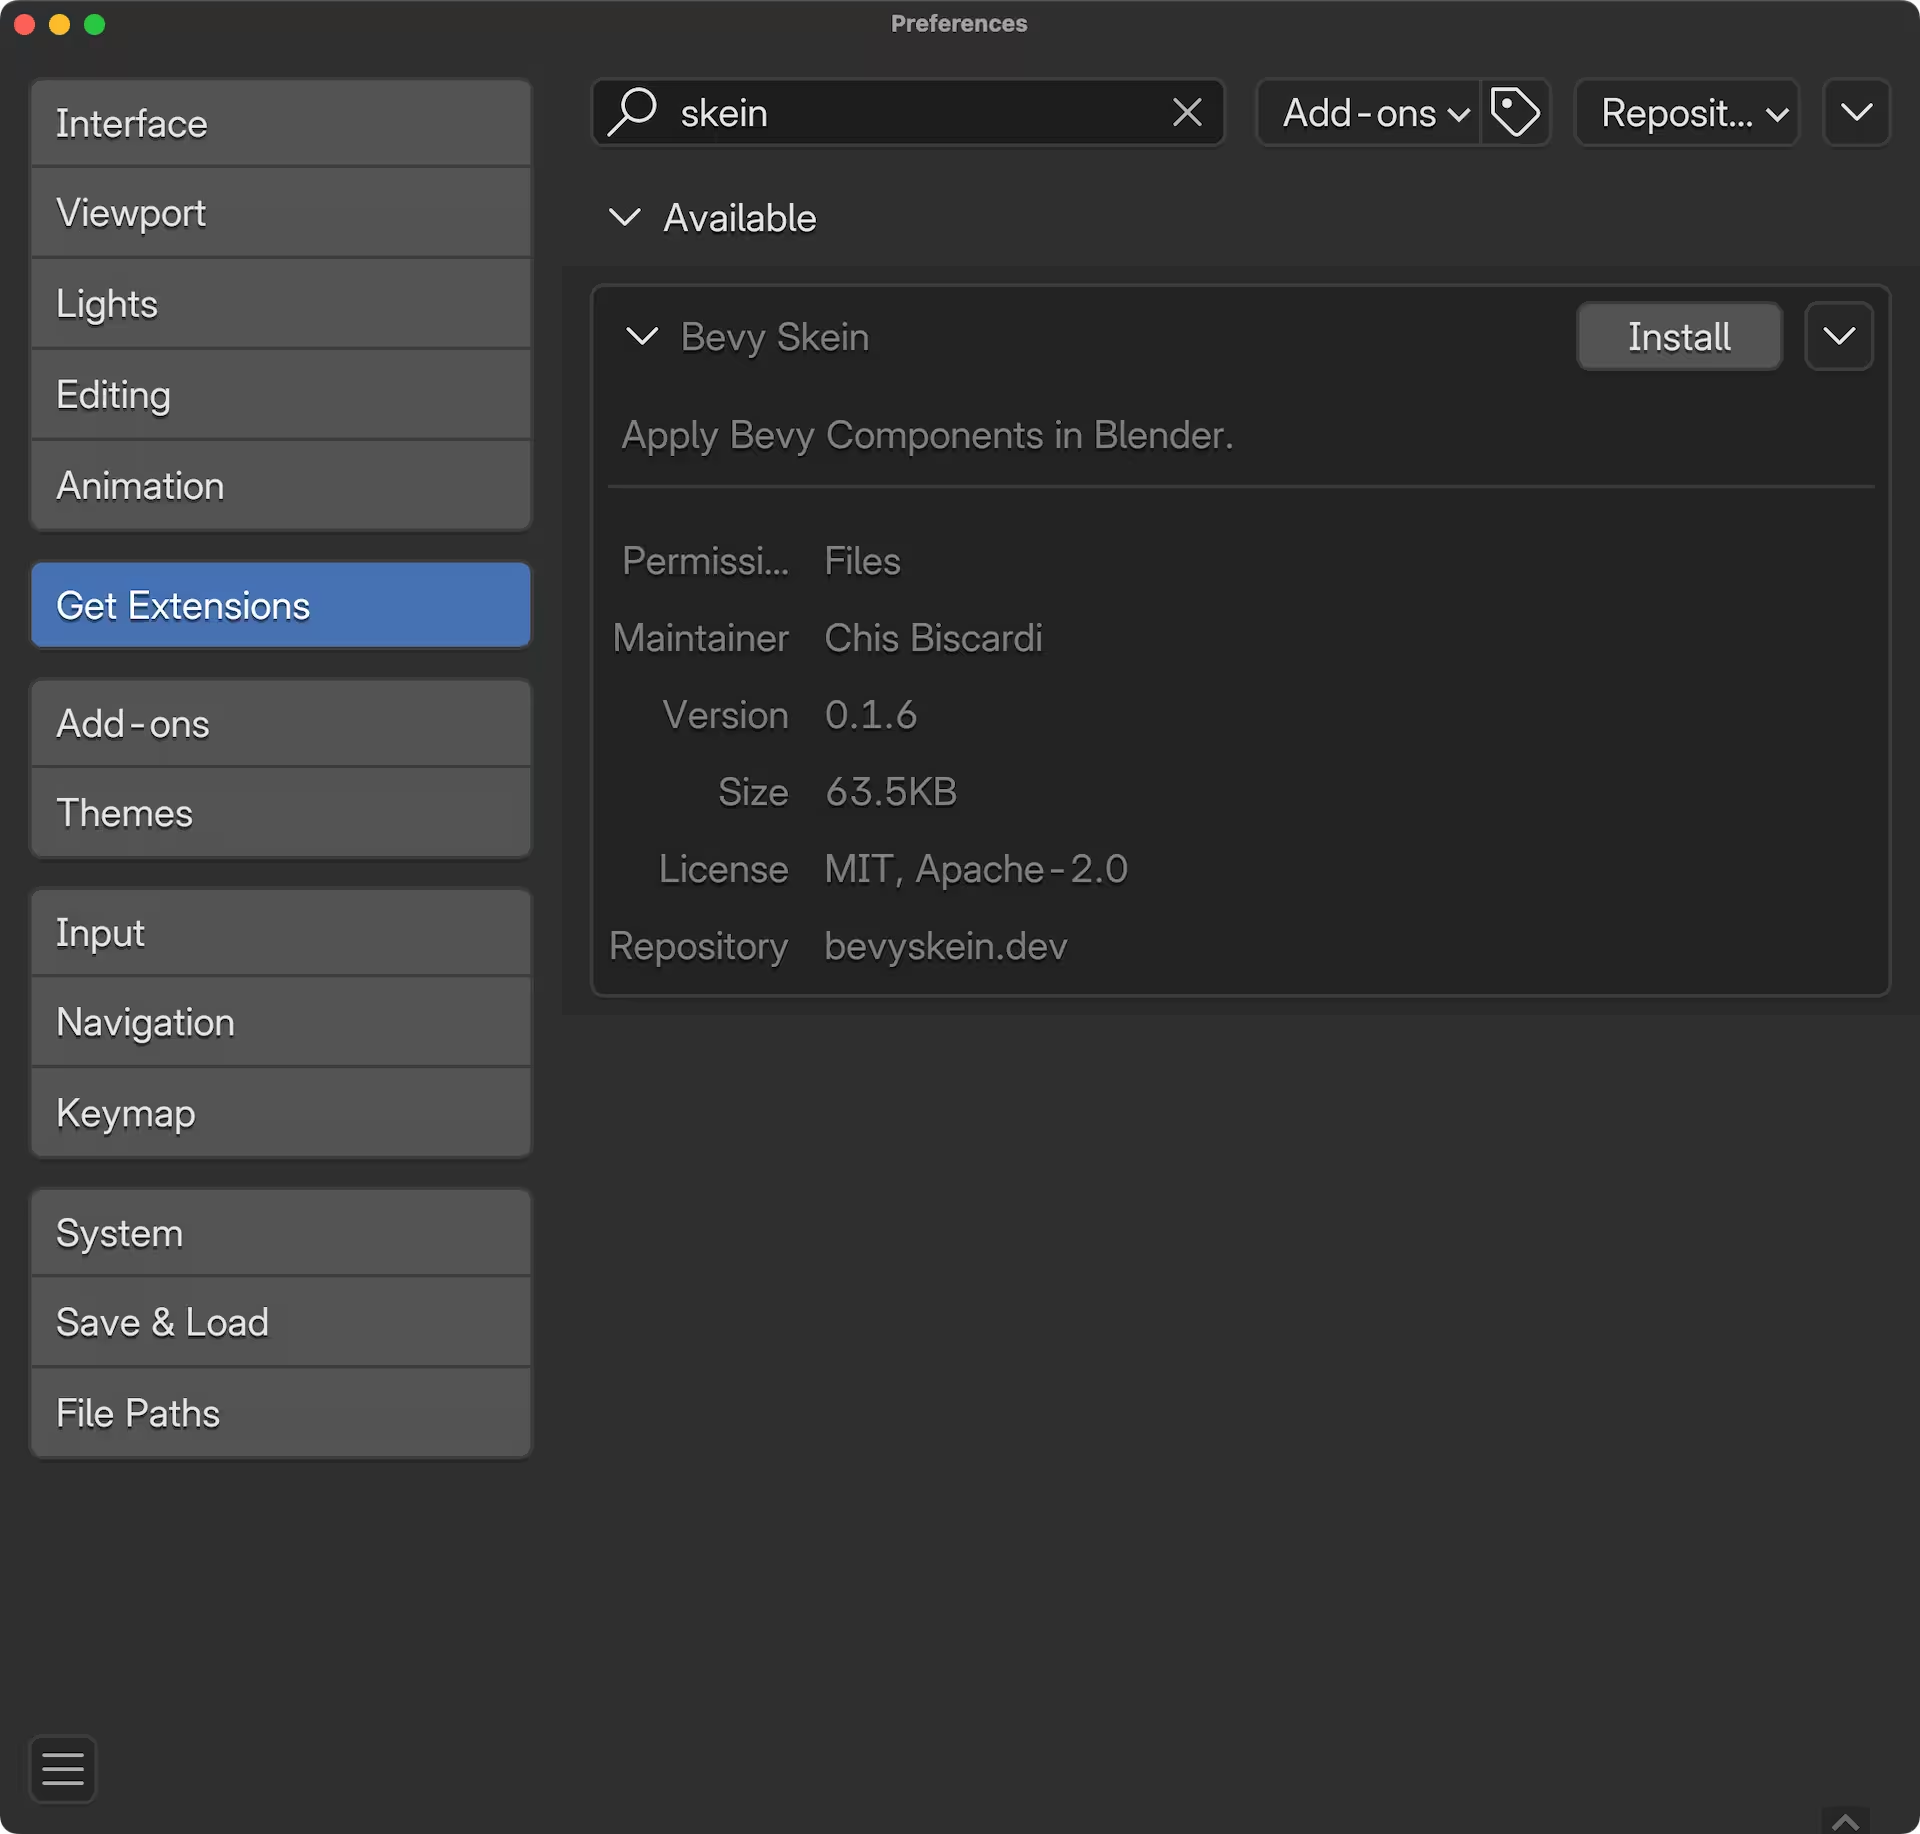
-
After clicking
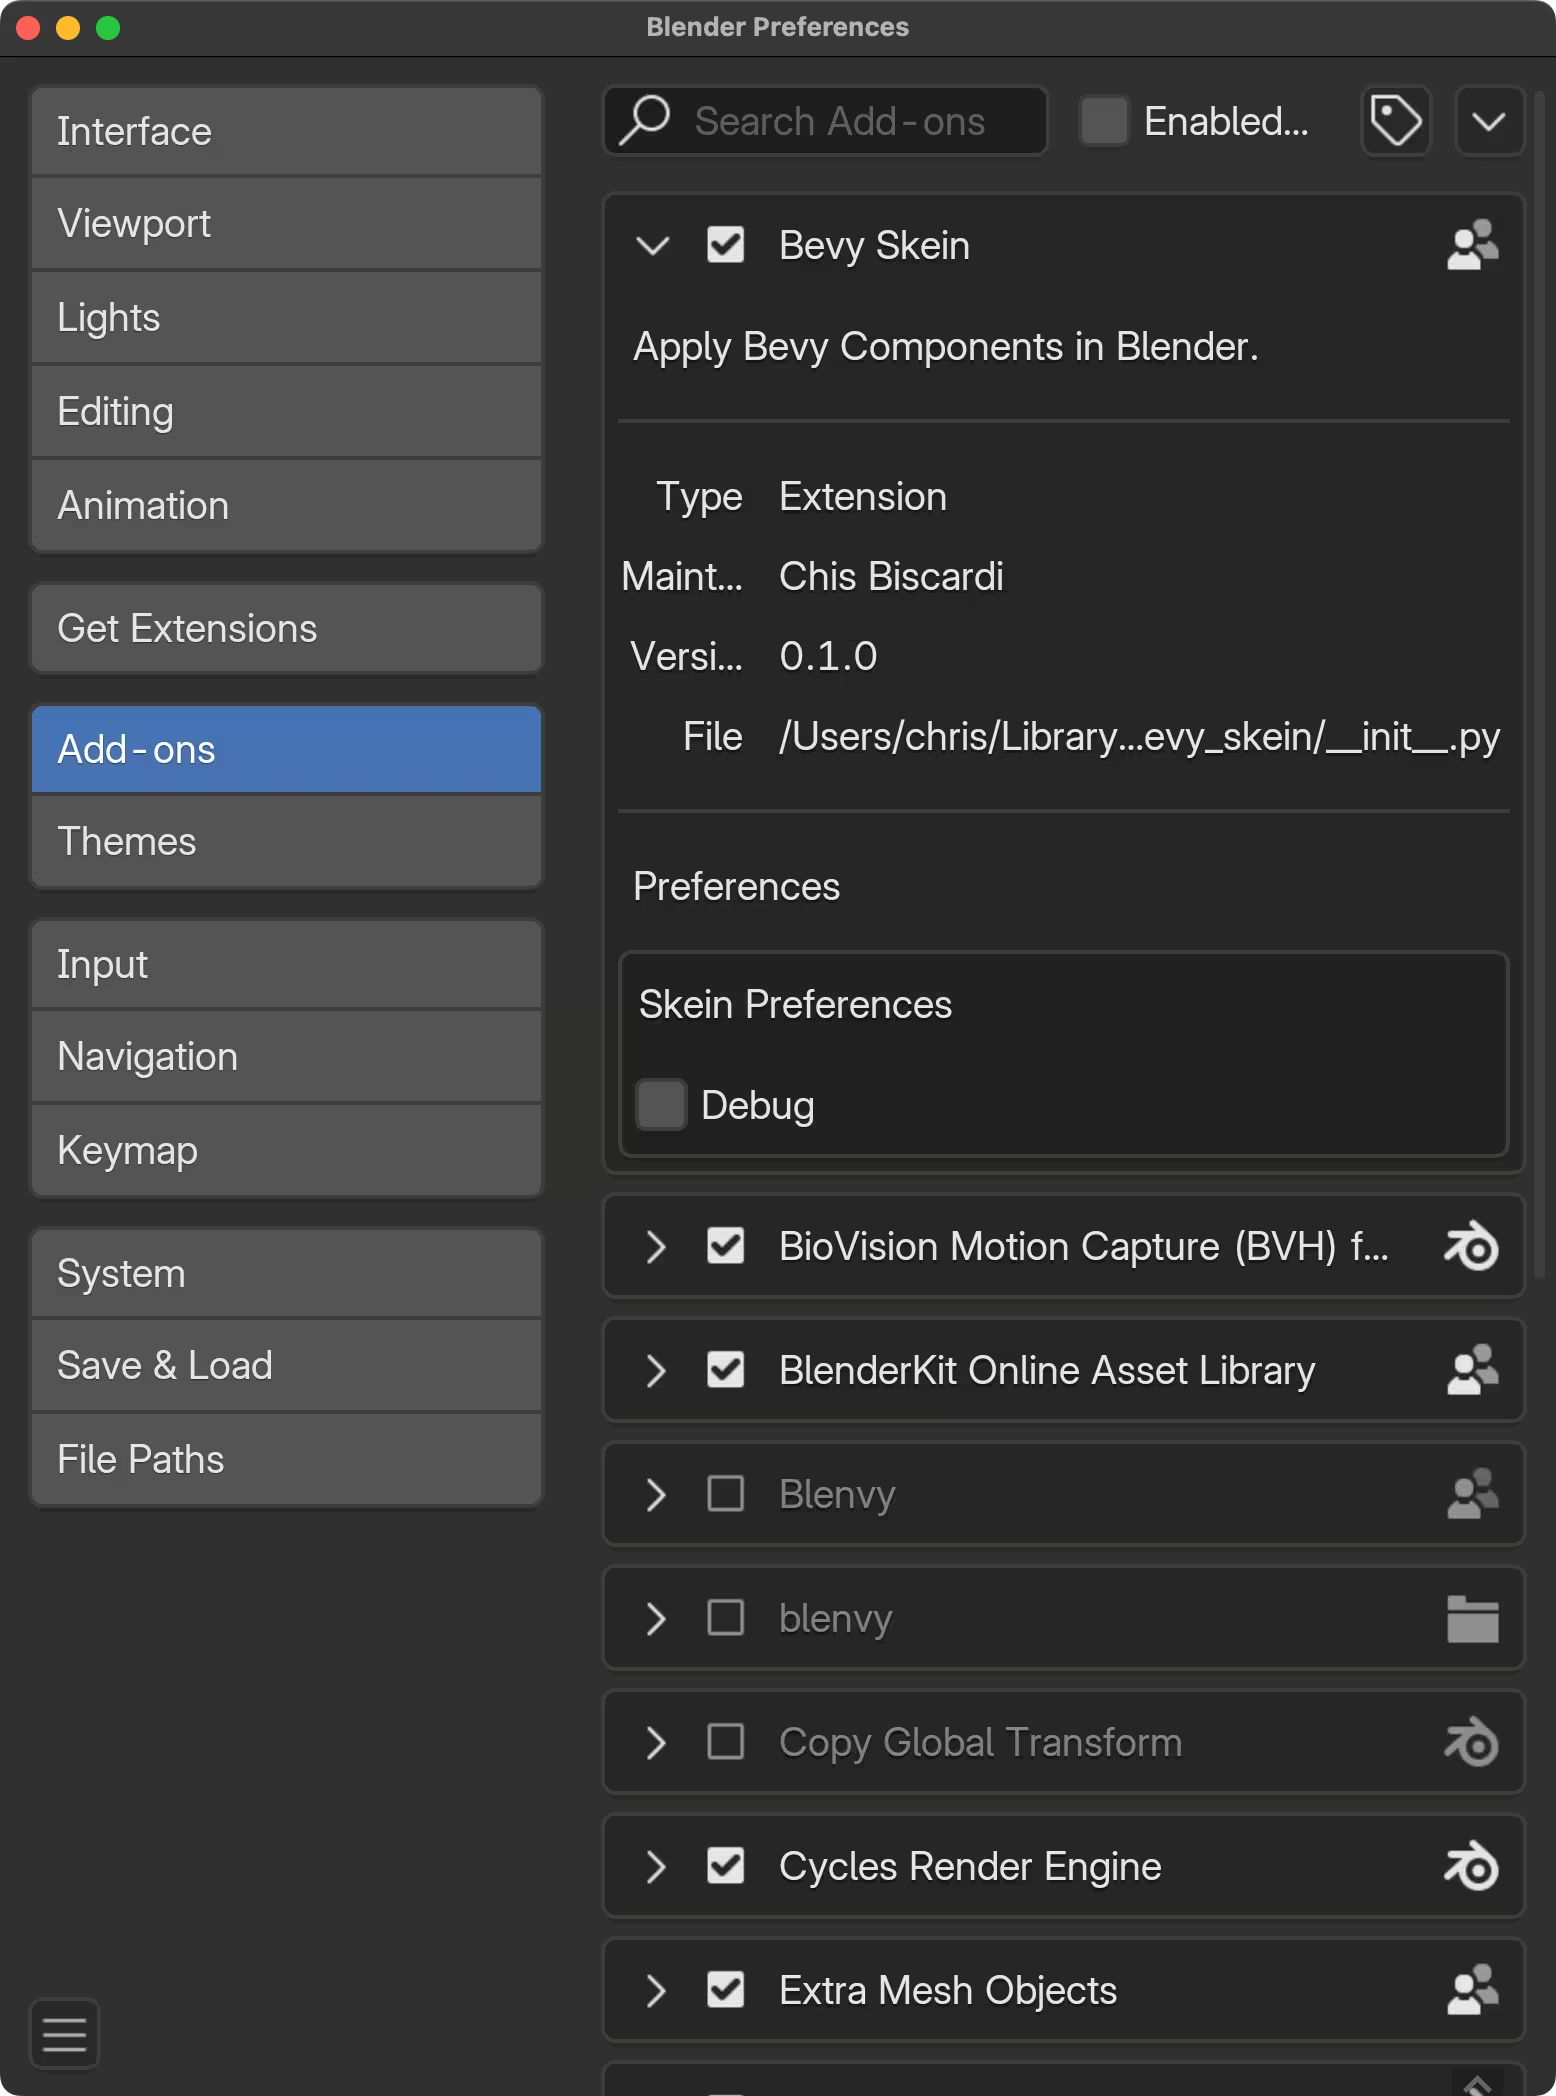
Install, you can view metadata about the extension, including the version and the repository it was installed from.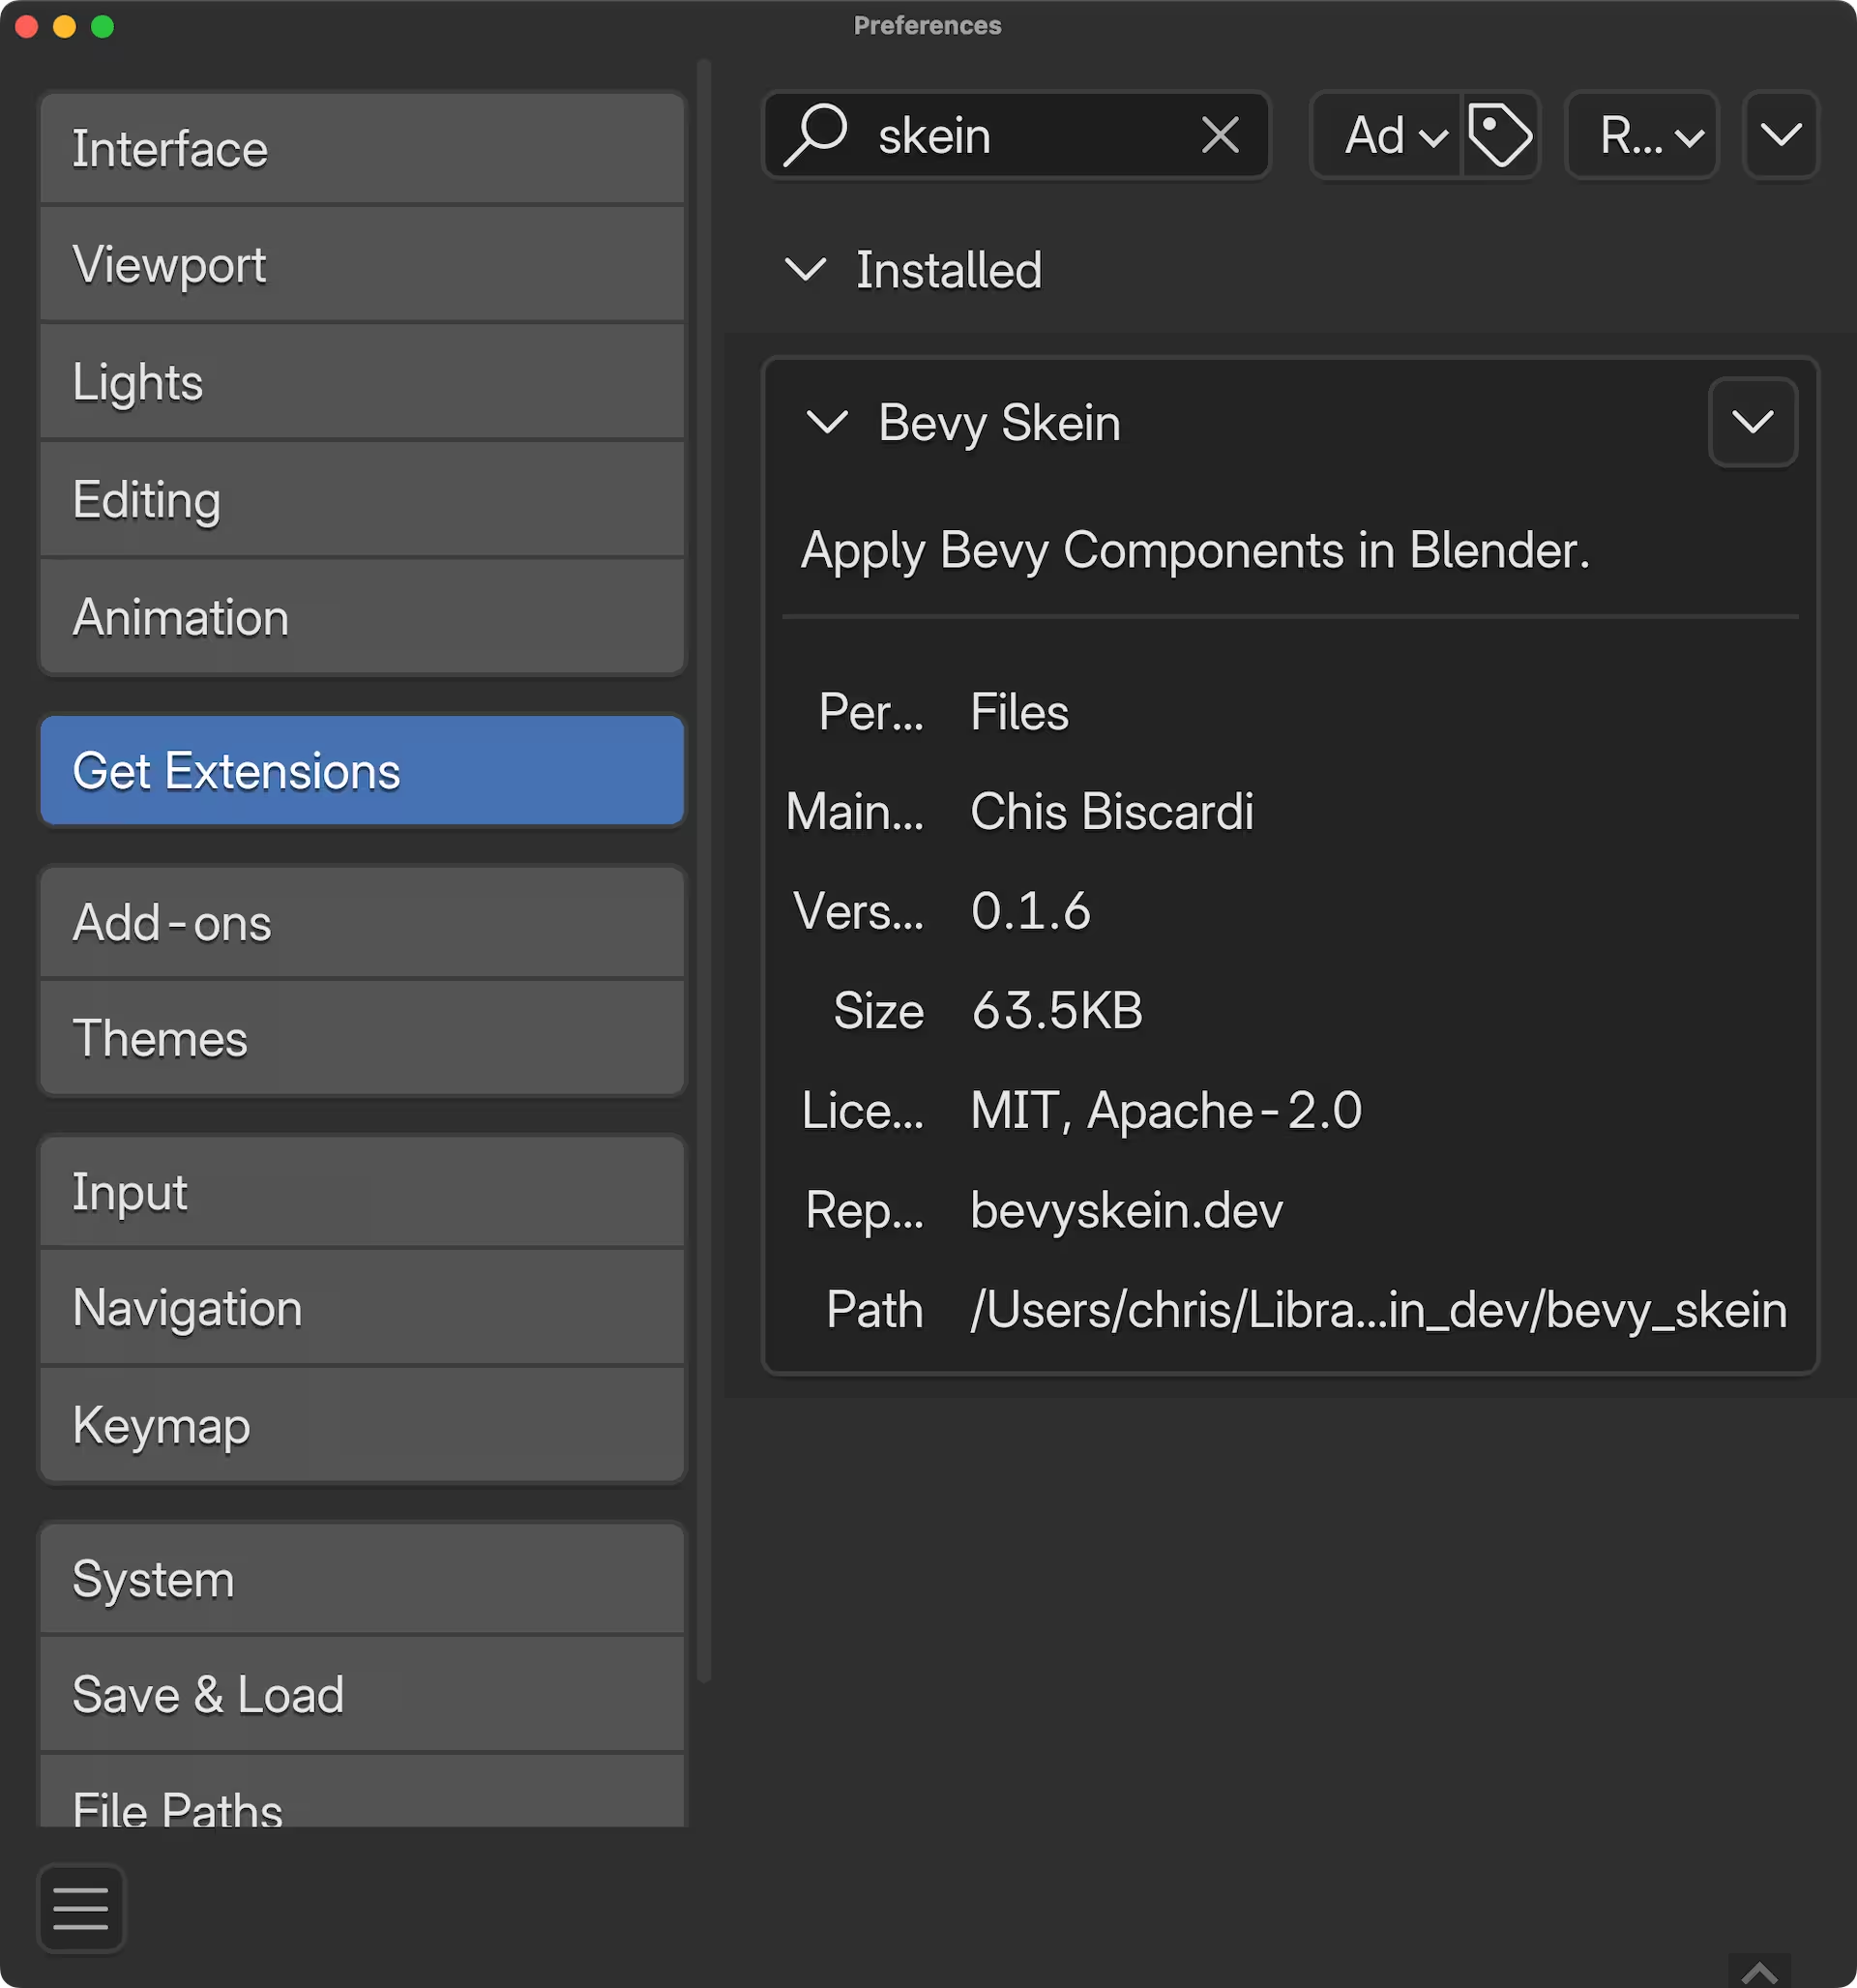
Manual Installation
Using manual installation will lock your installation to the version you download with the zip file. It will be your responsibility to keep it up to date. This is also a viable install strategy for local development.
- Download the zip file from the latest blender addon release on GitHub
- Open Blender, navigate to
Edit -> Add-ons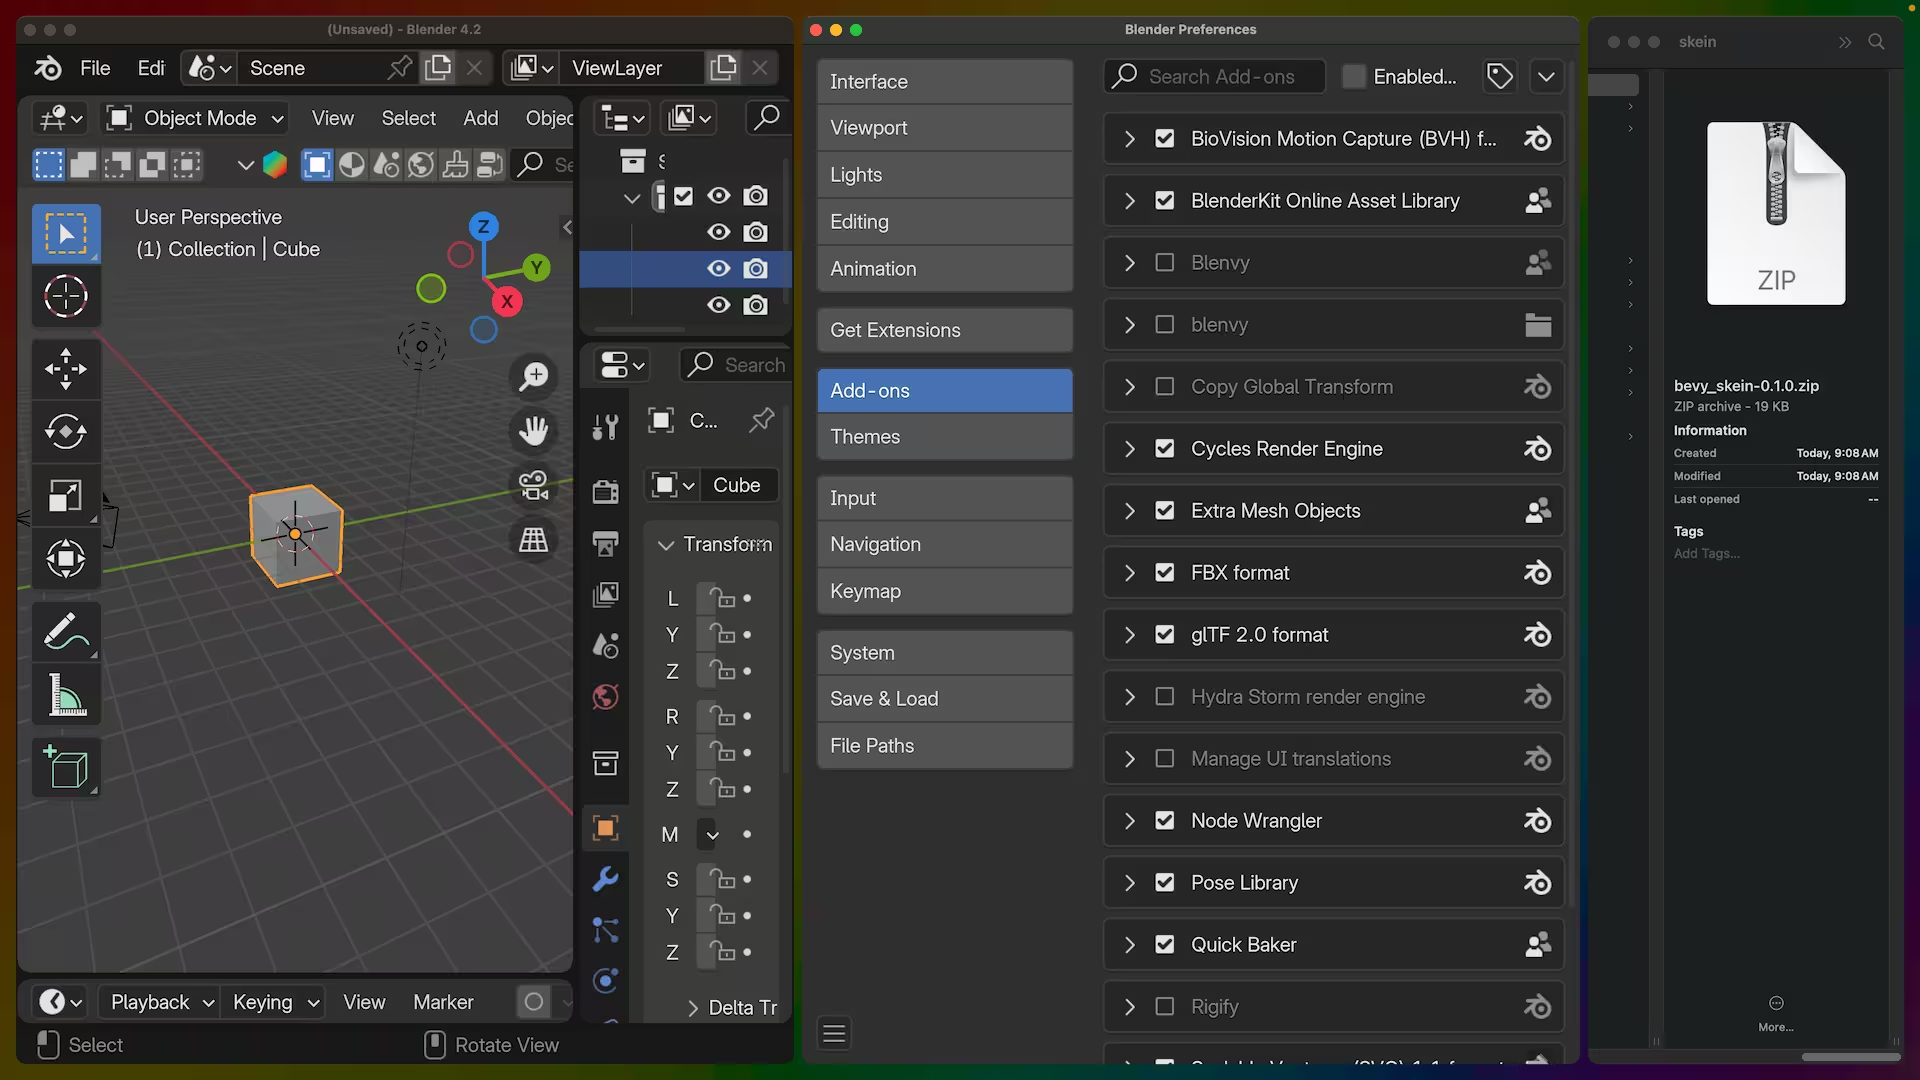
- Drag .zip file onto addons list and "Install from Disk"
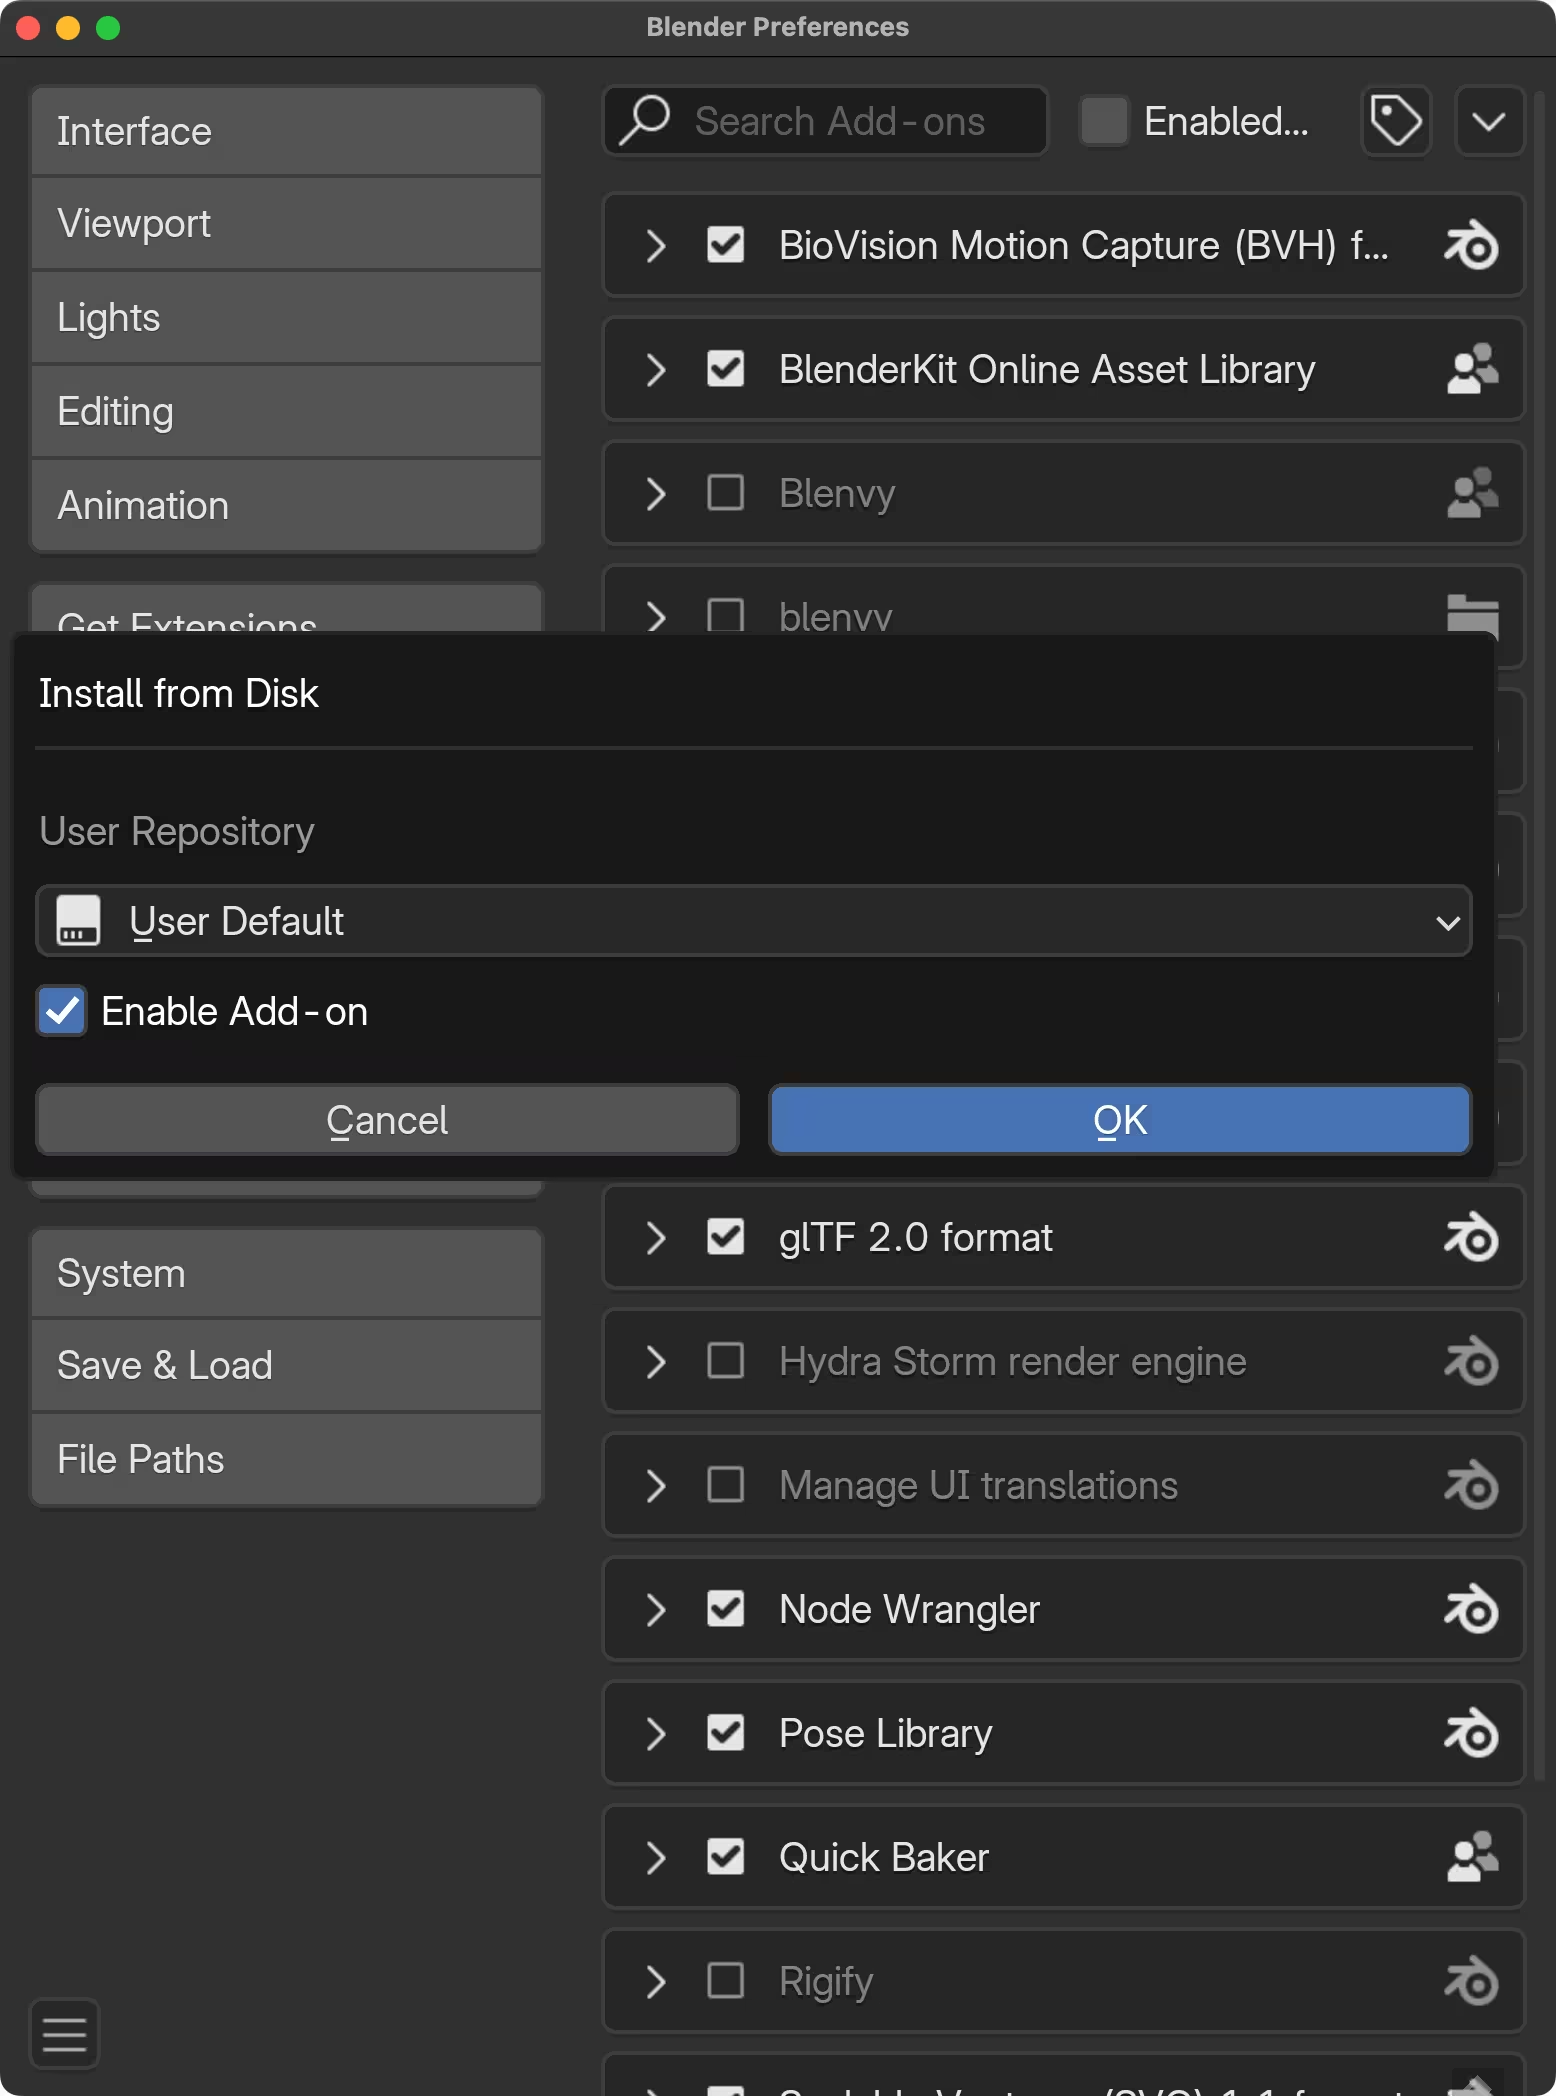
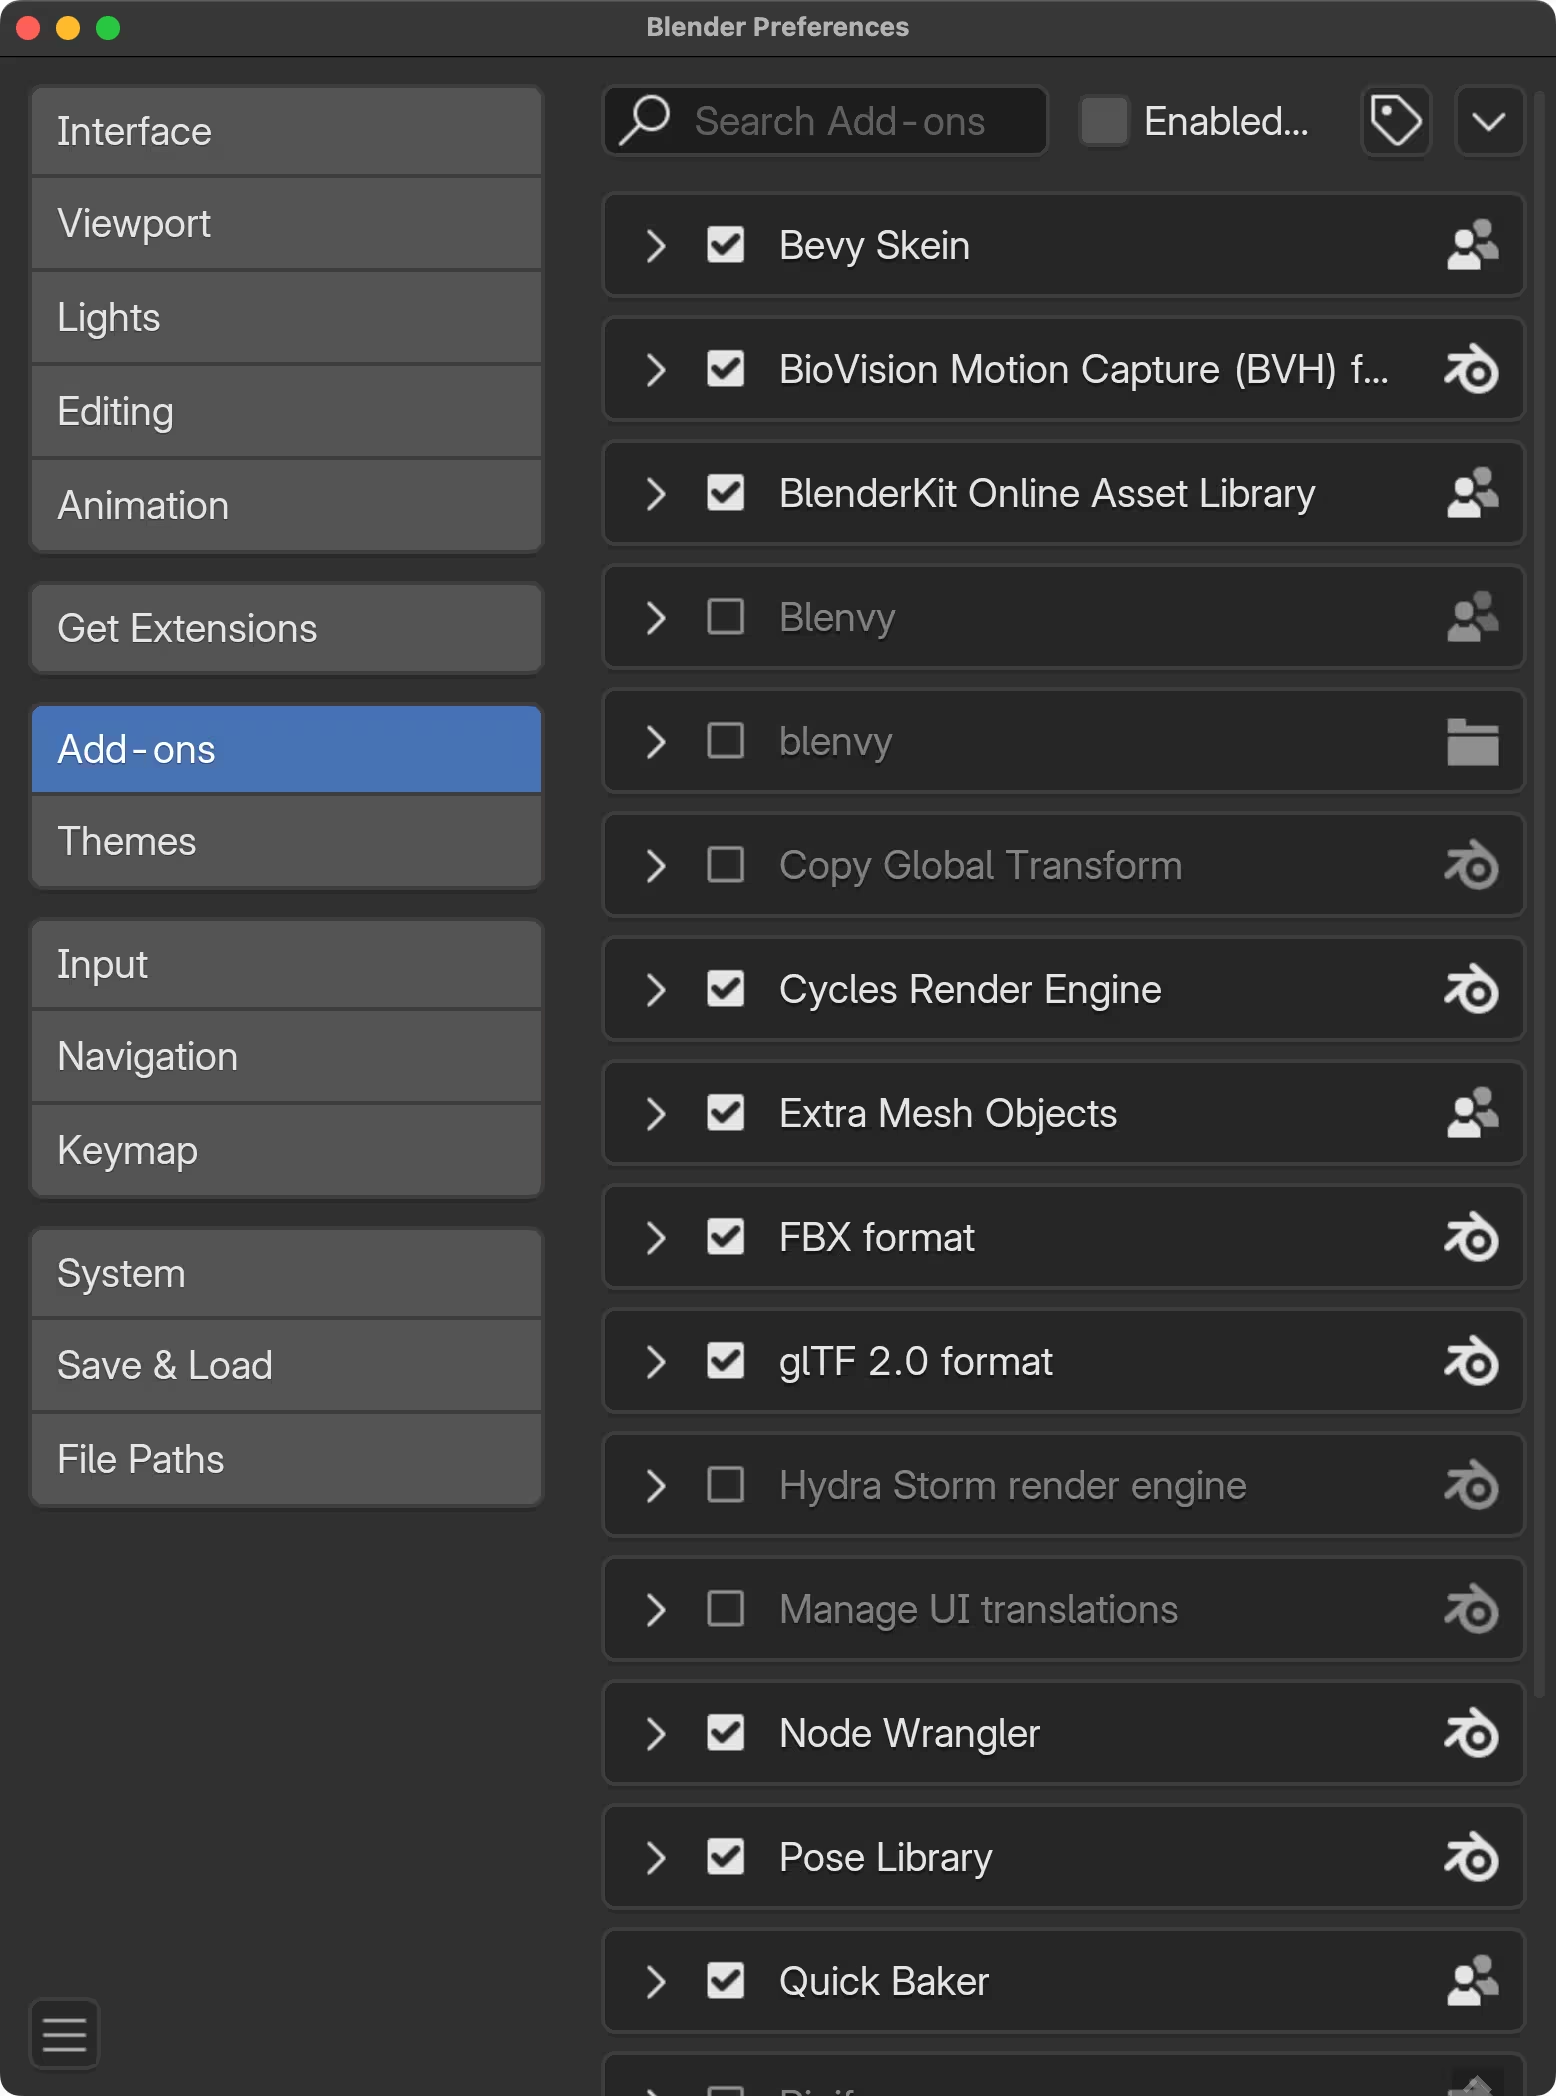
- Bevy Skein should be installed in the list
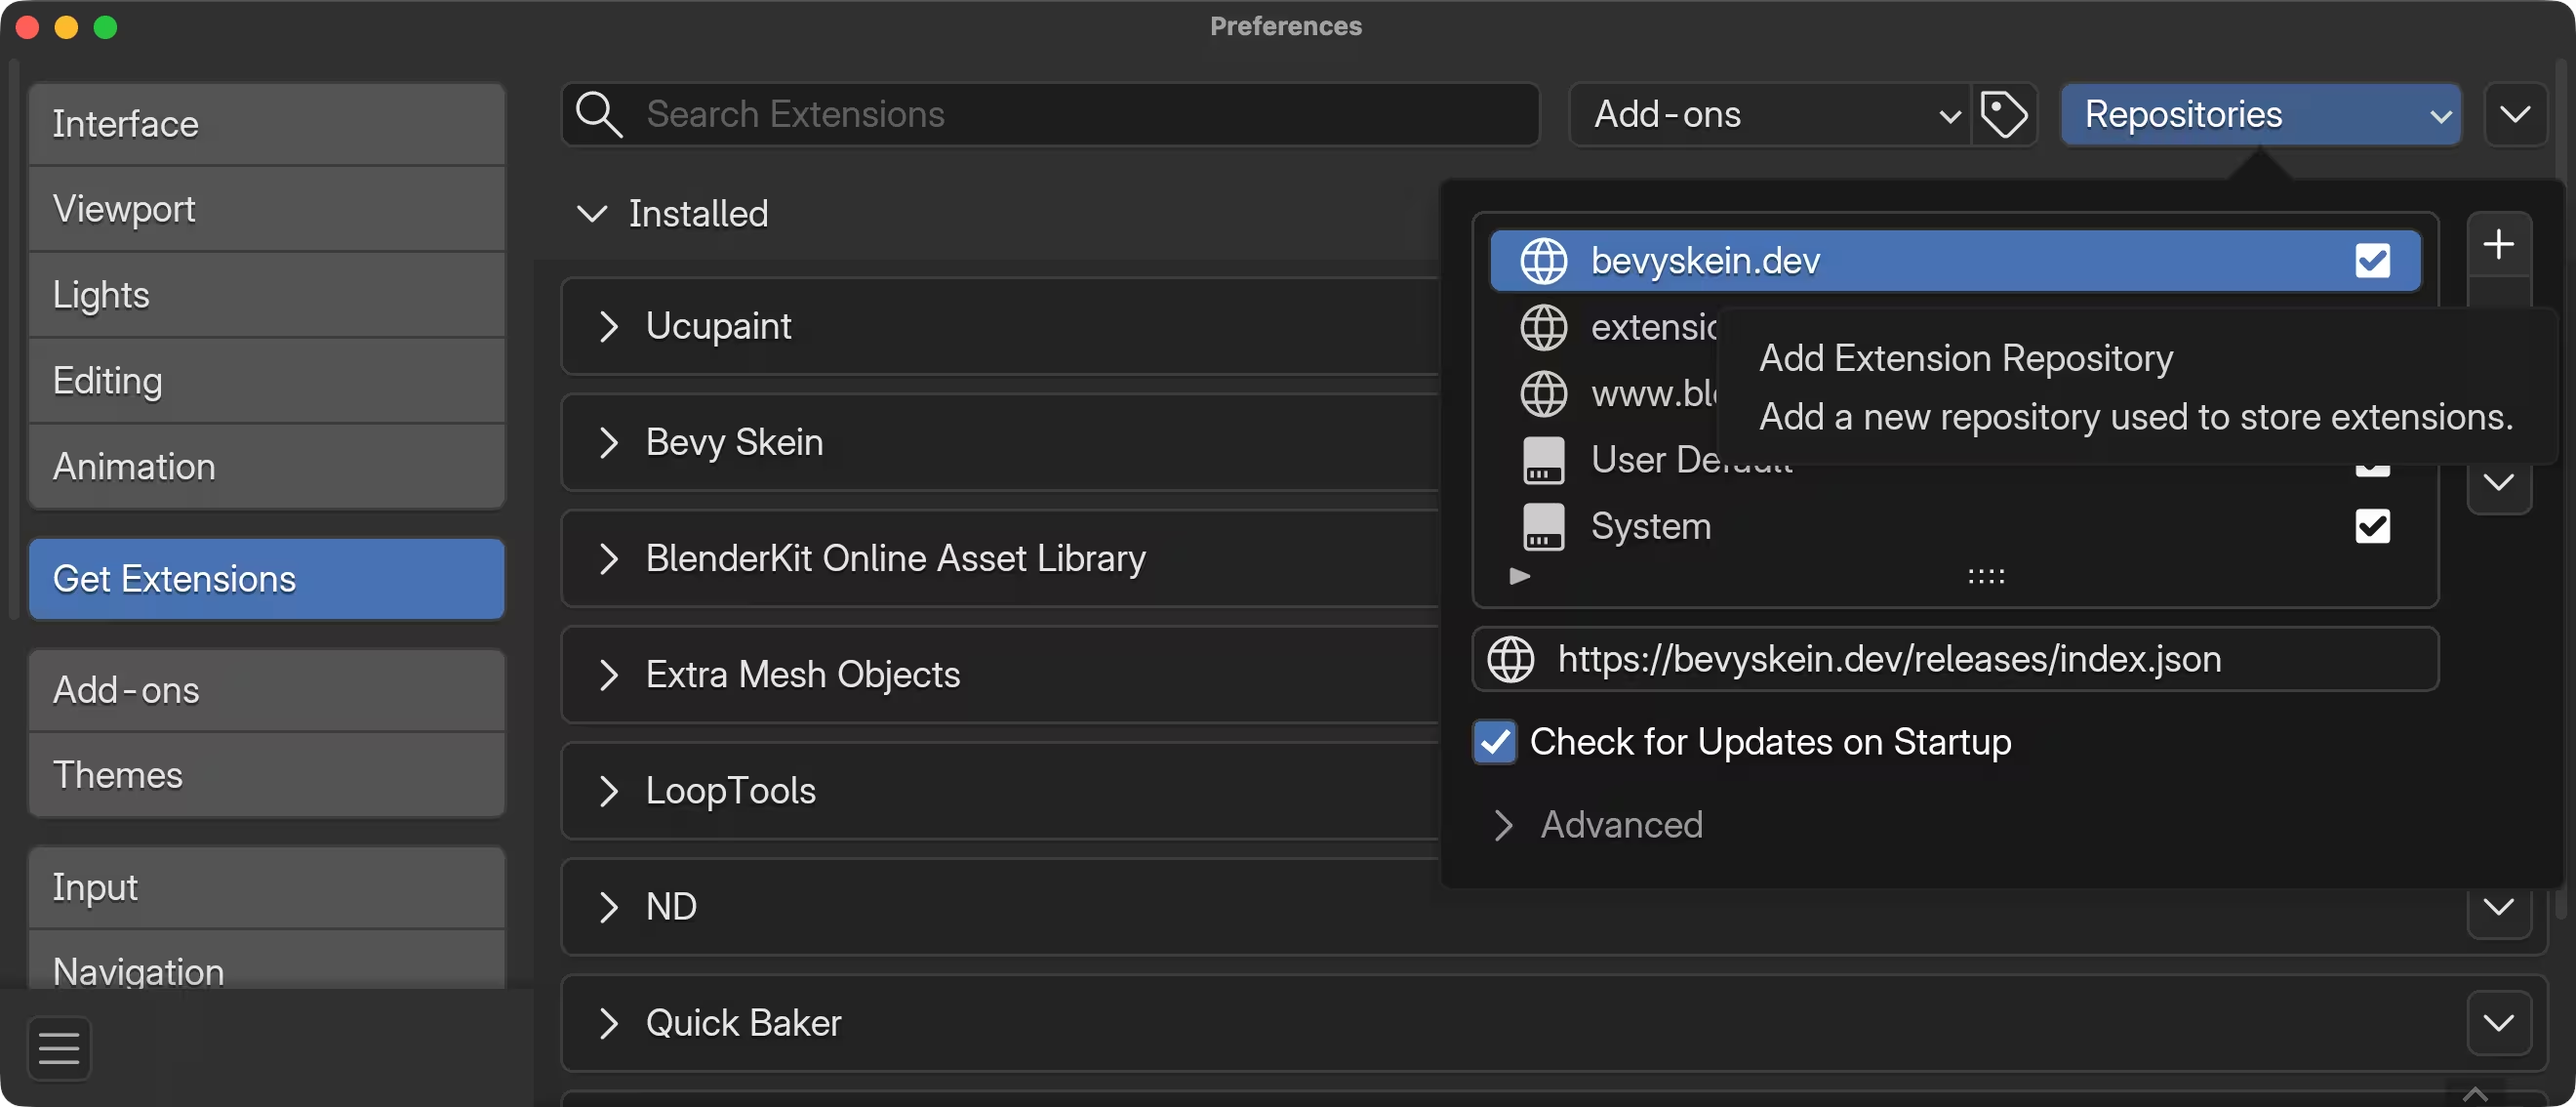
Registry
If you want to add the registry manually rather than dragging a link, you can add this registry.
https://bevyskein.dev/releases/index.json
Addon Preferences
Tip
There is a debug option in the addon preferences. If you want to develop against the addon you can enable this to see a bunch of output (note: requires running Blender from terminal)
